Disclaimer!!!
The information provided in this blog is to be used for educational purposes only. All of the information in this blog is meant to help the reader to develop a hacker defense attitude in order to prevent the attacks discussed. In no way should you use the information to cause any kind of damage. Hacking is a crime and I am not responsible for the way you use it.
Unit 1: Introduction
Django is a high-level Python web framework. It allows you to develop websites and web applications in a matter of hours. Django can automatically compile HTML code, therefore making it possible for anyone without any advanced knowledge in markup languages to develop a website. Additionally, Django is arguably one of the most secure developing frameworks, which in the right configuration, can strongly resist against SQL injections and XSS.
Unit 2: Getting started
To start django project, run:
django-admin startproject {project_name}After creating the project Django creates a file directory named after your project and manage.py file.
manage.py is a command-line utility for interacting with your Django project in various ways. It is especially handy in creating web-apps, managing databases, and most importantly running the server. Basic syntax for using this utility is:
python3 manage.py {command}To automatically configure new files after starting your project or after changes, run:
python3 manage.py migrateTo deploy your website on the server, run:
python3 manage.py runserverAfter the runserver command, your website is deployed so you can look at it at http://127.0.0.1:

To create an admin account for your Django web admin panel (located in IP:PORT/admin), run:
python3 manage.py createsuperuser
To create an app for your project, run:
python3 manage.py startapp <app_name>Unit 3: Creating a website
Once you create a new app, you need to include its name in settings.py configuration file under INSTALLED_APPS section:
INSTALLED_APPS = [
        'app',
        # ...
]
The next step is to add the app’s path to urlpatterns sections in urls.py file:
urlpatterns = [
    path('{app_name}/', include('{app_name}.urls')),
    path('admin/', admin.site.urls),
]
urls.py is responsible for accepting and redistributing incoming HTTP requests via views.py
views.py is responsible for carrying out functions which are called using urls.py. Now let’s create a simple HTTP response function for our app: All you have to do is create a function with a certain name which you will be referring to in urls.py:
def index(request):
    return HttpResponse("Hello, World!")
Function is called index, and so in order to make it work you need to put this line into your urls.py inside the app folder:
app_name = 'articles'
urlpatterns = [
    path('', views.index, name='index'),
]
Django-driven website behind the scene: When you request a django website, you create an http request that is handled by urls.py first. In the urls.py, the responsible view is defined there. So the http request is forwarded to the appropriate view.py file. The view.py contains html template that is forwarded to you in an http response. Tada, you see the webpage.
So after all this work, now when you navigate to your http://IP:8000/{app_name} you see „Hello, world!“
Unit 4: Concluding
In case if it was hard for you to follow the guide, or you have any errors, here’s an exact example of the Django website I was talking about: https://github.com/Swafox/Django-example
Unit 5: CTF
We need to get an admin panel flag, a user flag and a hidden flag.
We are given with a username:password pair which is django-admin:roottoor1212. Knowing this, we are able to ssh to the target machine:

We are located in /home/django-admin directory. The first thing to do is to look around a little bit:

We can see that messagebox is a django’s project and that lmessages is the target app name.
Instructions to this CTF say:
Fix the error and retreive all the flags! (Use knowledge from previous units)
So I thought that this CTF was all about non-working django website after reading this. And that correcting typos and errors in configuration files should fix it. So first of all, I went through all configuration files and checked thier internal correctness.


We can see that the app is added to INSTALLED_APPS which is good. But when looking at ALLOWED_HOSTS, notice that only server’s IPv4 addresses (0.0.0.0) and localhost (127.0.0.1) can access the website. Which means that we are not allowed to view the webpage:
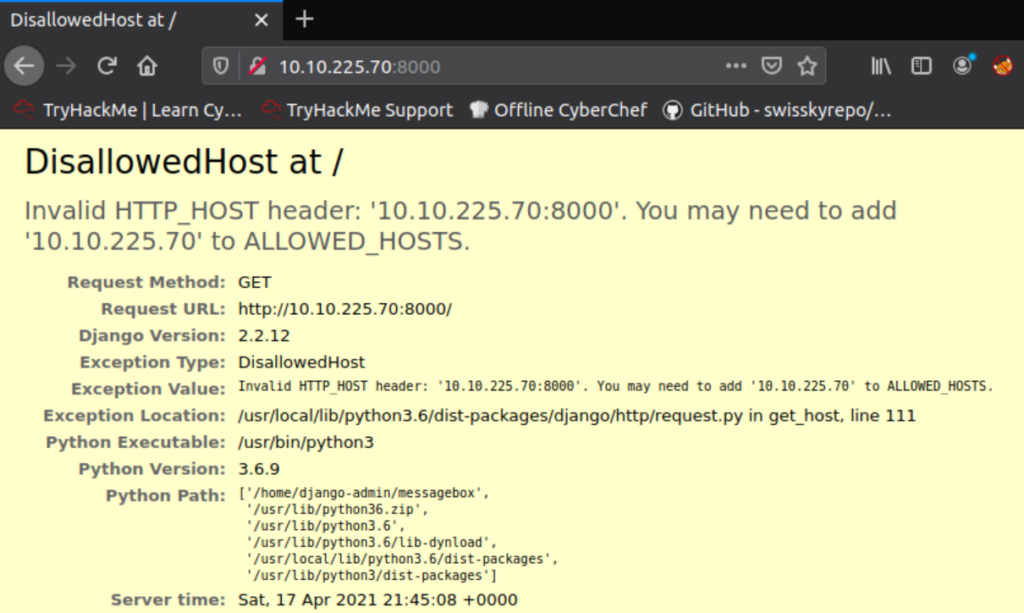
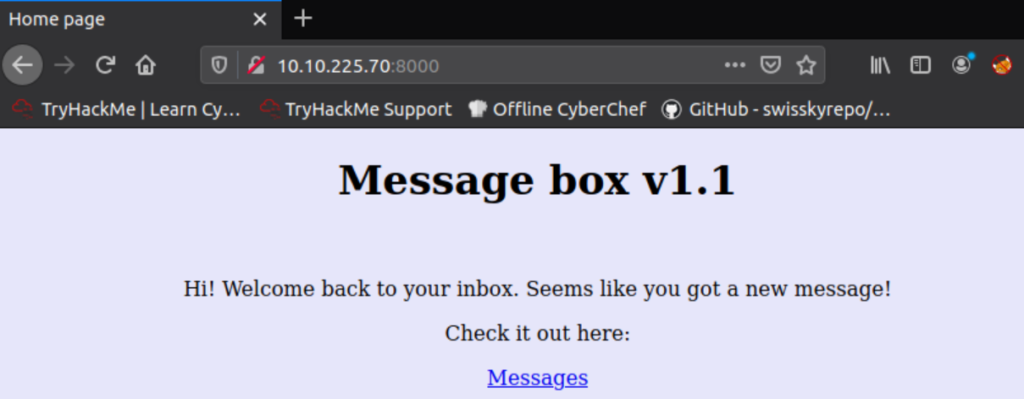
We are left with two options here: Either change the settings.py config file to include IP address of our (attacker’s) machine:

Now we are allowed:
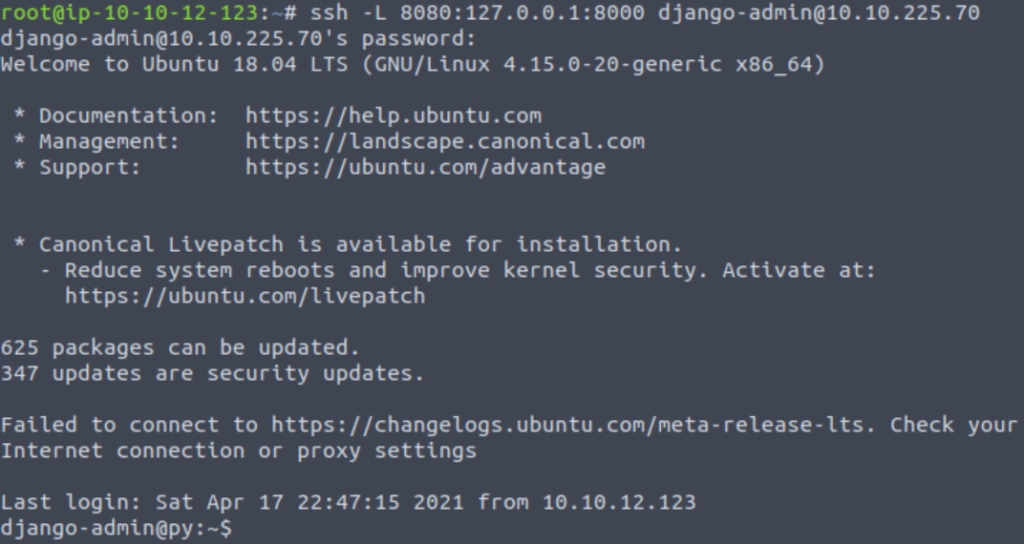
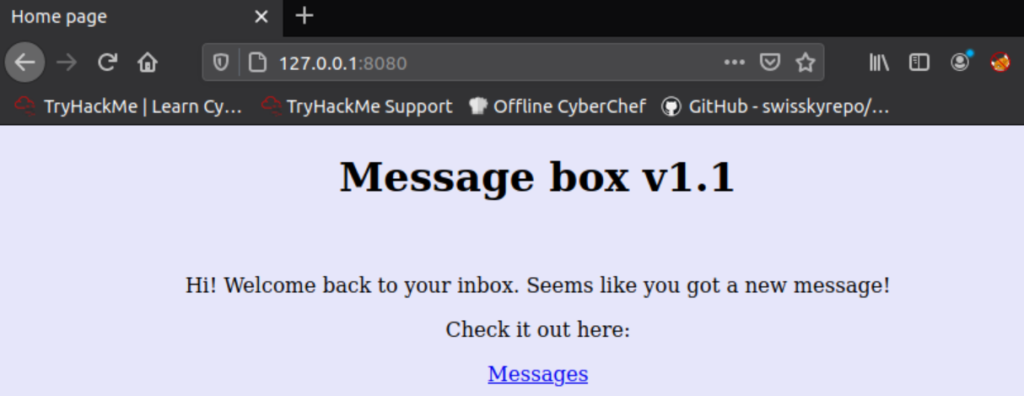
Or the second option is to use local port forwarding. It simply means that we choose any port on our (attacker’s) machine (let’s choose 8080) and bind it with the remote machine’s port where the django (website) is running – which is 127.0.0.1:8000. Once it is binded, connections made to our (attacker’s) machine to port 8080 are as if they were made to port 8000 on the remote machine. In other words, whatever we do on port 8080 on the attacker’s machine is forwarded to the remote machine to port 8000. And after it is handled by django, the response is then sent back to us in a form of a nice webpage.

So on our (attacker’s) machine, we can basically request 127.0.0.1:8080 in the browser and we should be provided with the webpage:
Let’s continue with the investigation of config files:


Let’s move to the app’s directory – lsmessages/:


Long story short: I couldn’t find any error in configuration files. After this finding, I decided to check the website:

When we click the ‚Yes‘ button:

Even though it says that something went wrong, the website is ok.
After all this checking, I decided to focus more on the flags. I looked around the app’s directory:

But I couldn’t find anything interesting.
When seeing the home.html file, I remembered that I saw exactly the same file in the project’s directory. It was worth looking there:
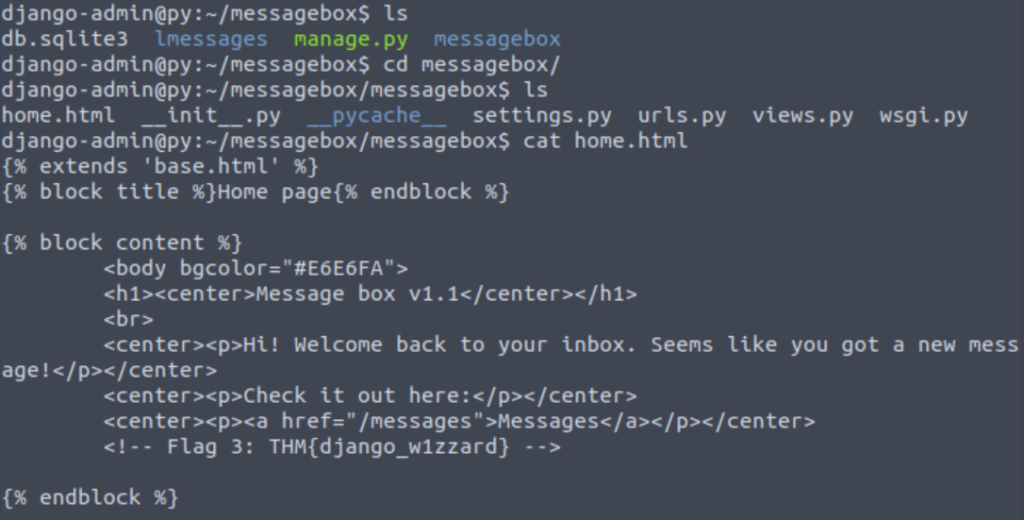
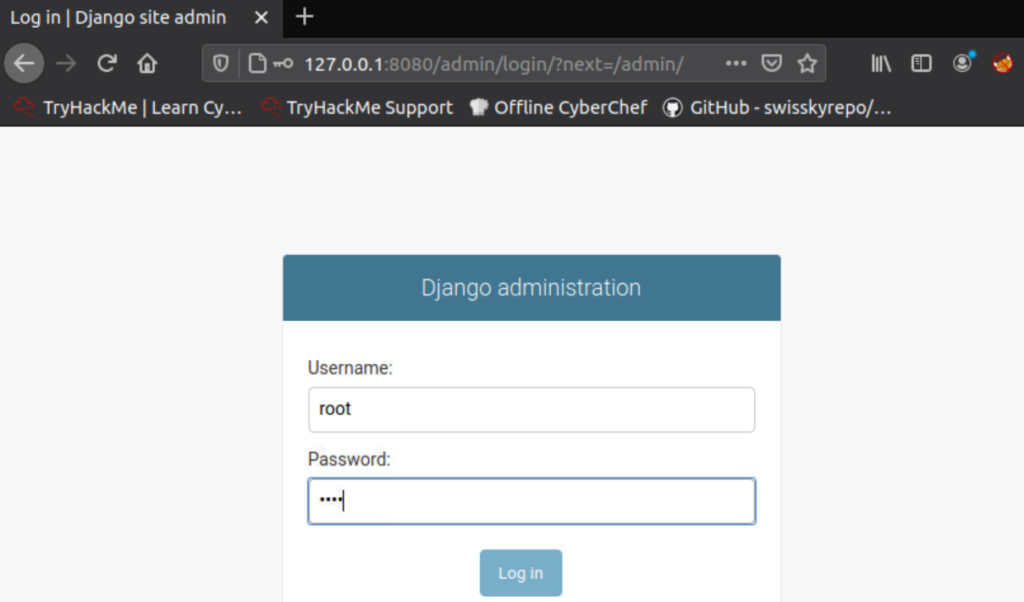
The next one is admin panel flag. But how to get that one? Remember the createsuperuser command? With the help of that, it is possible to create an admin panel in IP:PORT/admin with credentials that you specify. This way we would have easily gained admin privileges if it was successful. Let’s try that:

Check the admin panel and try to log in:
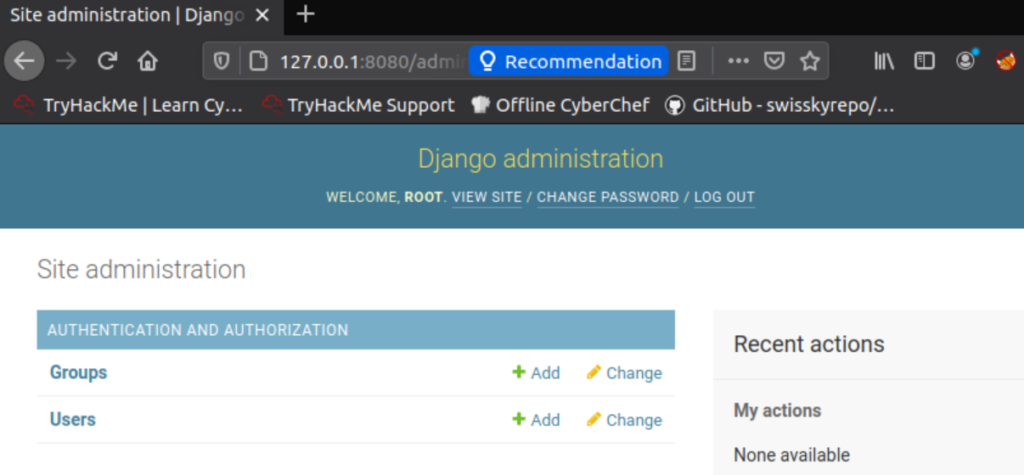
Choose ‚Users‘:

The last one is the user flag. This type of flag is usually to be found in one of users‘ home folder. So let’s check /home directory and its subdirectories:

I hope you learned something new with me. Thank you for reading this and see you at the next post!